Showing posts with label recycling tutorial. Show all posts

Saturday, April 25, 2015

Recycle and make art day! New tutorial


New tutorial showing you how I recycle stuff from around my home, 
things I used to throw away all the time without even thinking
about it, I am sure it´s the same for everyone and it´s my hope 
this blog inspire you to see materials as just that, materials that
can be re used and transformed into something new, for me,
it applies in the crafts and arts area because this is what I do
but I am sure it can apply to many other areas, just be creative!

Teach the kids to think this way and the 
world will be different in a few years

Does your tea bags come inside another bag?  Some of my 
favorite teas do and I´ve been saving them for a while but 
they had their turn today!  I used them in an altered book
if you are new about altered books, there is an introductory 
tutorial here about it. 

For those who are already altering books I have to share 
that I now simply use a masking tape to go around the corners 
of various pages to put them together, fast and easy just 
don´t use much watery mediums or the pages will have air
 bubbles in the center for it is not glued.

Here are the empty bags of two different teas I love, 
coincidentally the colors match and I used that same color 
palette for the  background colors and design of the page, I 
used squares for it was the same shape of the bags...


The page had some Mexican pottery or silver pieces so I used 
those shapes as a sketch and painted over them...


I painted the bags with guesso and then the same chosen
colors using the same design as the background...


I painted some paper and used a tag punch, some matching 
ribbons and used that tool for making a hole going through
all of the pieces and attached it with a tiny brad...


Now all is left is some embellishing, I used stamps and
a black pen, I wrote in each bag one wish and symbolically
represented it on the front of the bag...


Bonus project!

Why not use the same idea for other stuff like
these cute cards! Put inside a beautiful note attached
to a ribbon as well so it´s easy to pull out or
add cut shapes like this heart! Know anyone who would 
enjoy this?


I hope you are inspired to recycle and create! This will also help your creativity expand!
Much love to you!

Monday, April 13, 2015

Recycle cardstock to make sweet little books!


I´ve been thinking about these for a while, they can be good for many things,
I could use them for storage in the studio somehow, I´ll think about it, hehehe!
Today i used them for making sweet books, they could be a cute present or
for art journaling miniatures!  Next I´ll show you how I made them super easy!

You will need:

Recycled cardstock
(Mine is made in Mexico 
and has an organic glue!)
heavy gel medium or glue
beautiful papers
bone folder 
Scissors  
Studio helper ;)

Instructions:

Cut the cardboard to fit your desired size
Attach the pieces with the tape
and form your book, mine is made of six
pages each but you can try adding more
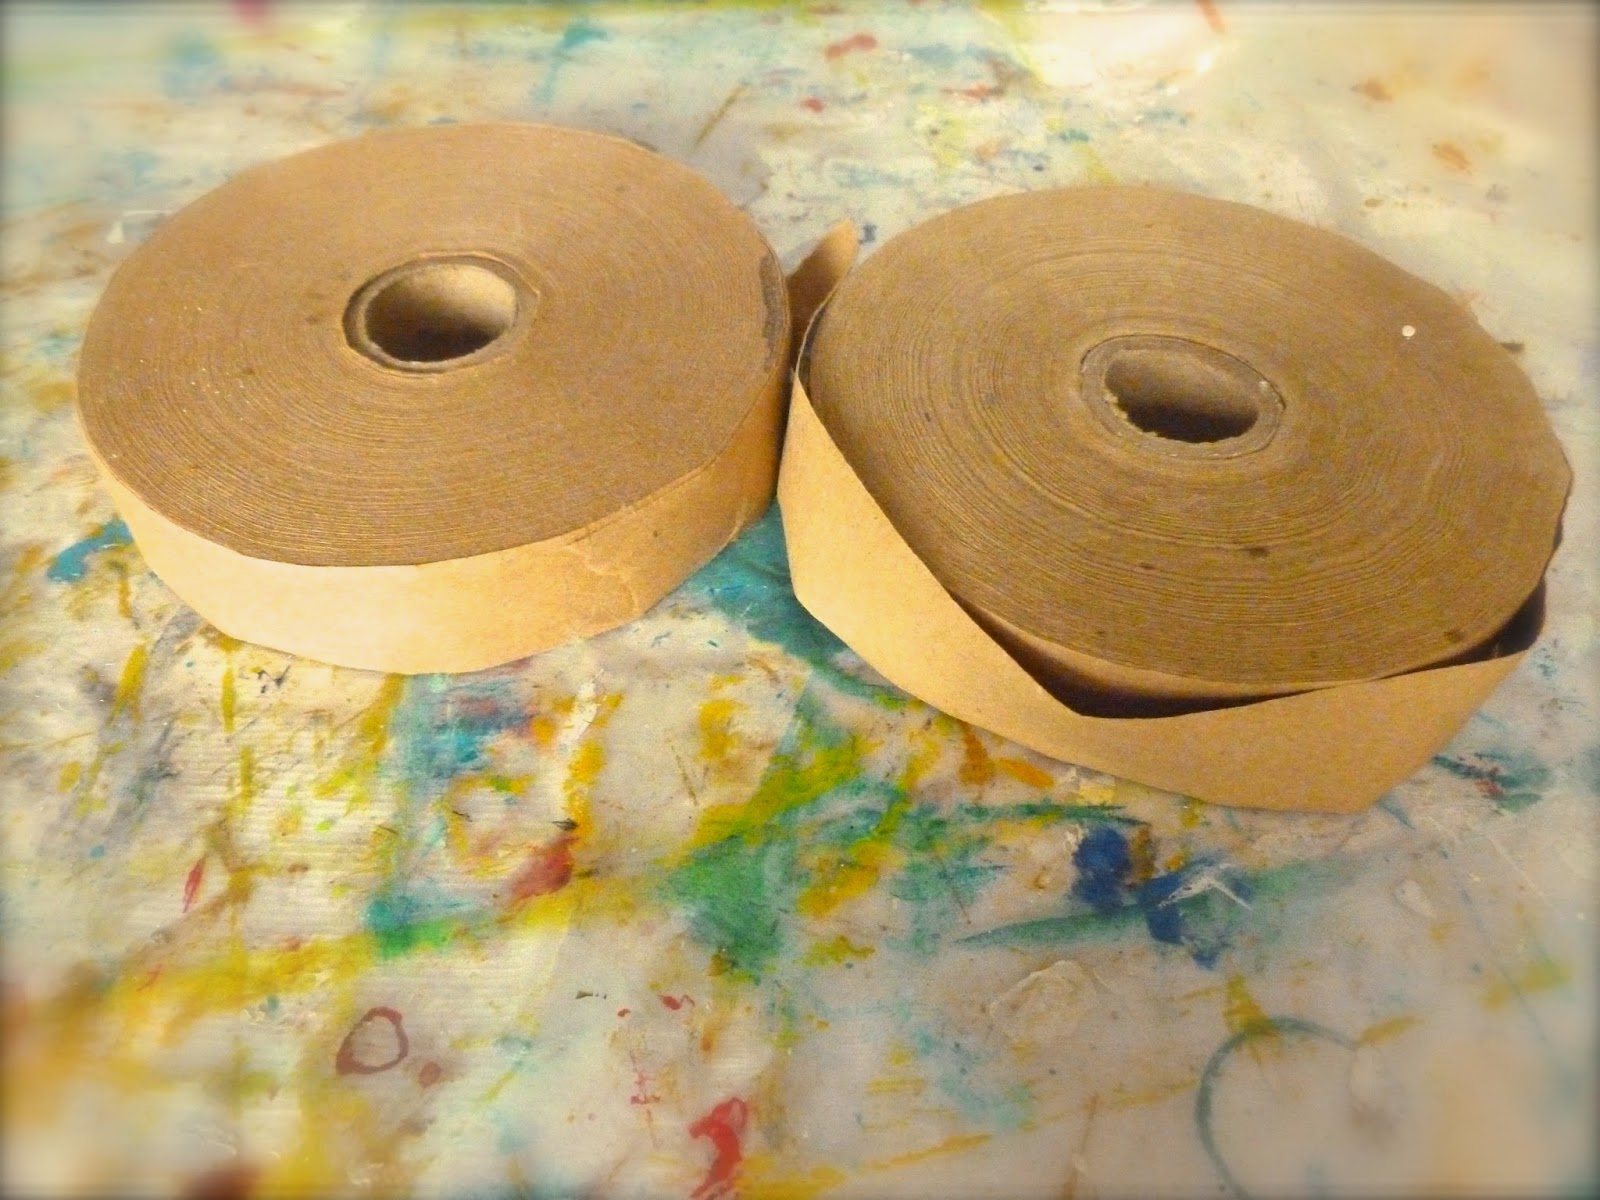
Add three pieces of the gummed tape
embracing the book as shown bellow
you,ve made a book!
Now it´s time to embellish it how you like best,
I used scrapbook papers for the cover and back
first added a matching ribbon so I could close them
and glued it with medium as well as the papers
Voila! A finished cute little book to give away
perhaps even sell them!  You can make larger ones too!

Check the bonus recycling tutorial bellow! :)


Bonus little recycling idea!

These little chips bottles are so cute I always felt it was a shame 
to throw them away but not anymore!  This very easy way to 
transform them will make you save them too!  Simple wrap 
around decorated tape around it and it´s ready to use in your
home or studio or to use them to bring food to work or school
transpor art supplies, etc., 


I hope you enjoy recycling and making wonders with the
materials once were thought as waste, save money, help the planet
and enjoy of creativity while it, everybody wins! 

***

I'm really interested in how you create a whole new economy of recycling. 
It's literally the 'underground economy.' All this stuff that on the surface 
creates growth and profit, ends up with waste, 
junk, and CO2. So how do you make it economic to 
bring new players into the ball game?
                                                                                                               Peter Senge

Thank you for being here! 

Monday, December 8, 2014

Christmas ornaments recycling the TPR


Hello sweets!!  As promised, here is a new tutorial using the
toilet paper rolls, from now on, TPR!  This time we will create 
some Christmas ornaments but they can be easily changed into 
any season just by changing colors and embellishments!

If you haven´t yet read the post about how to save your TPR, please 
 read about it and join the fun of recycling and making art here!

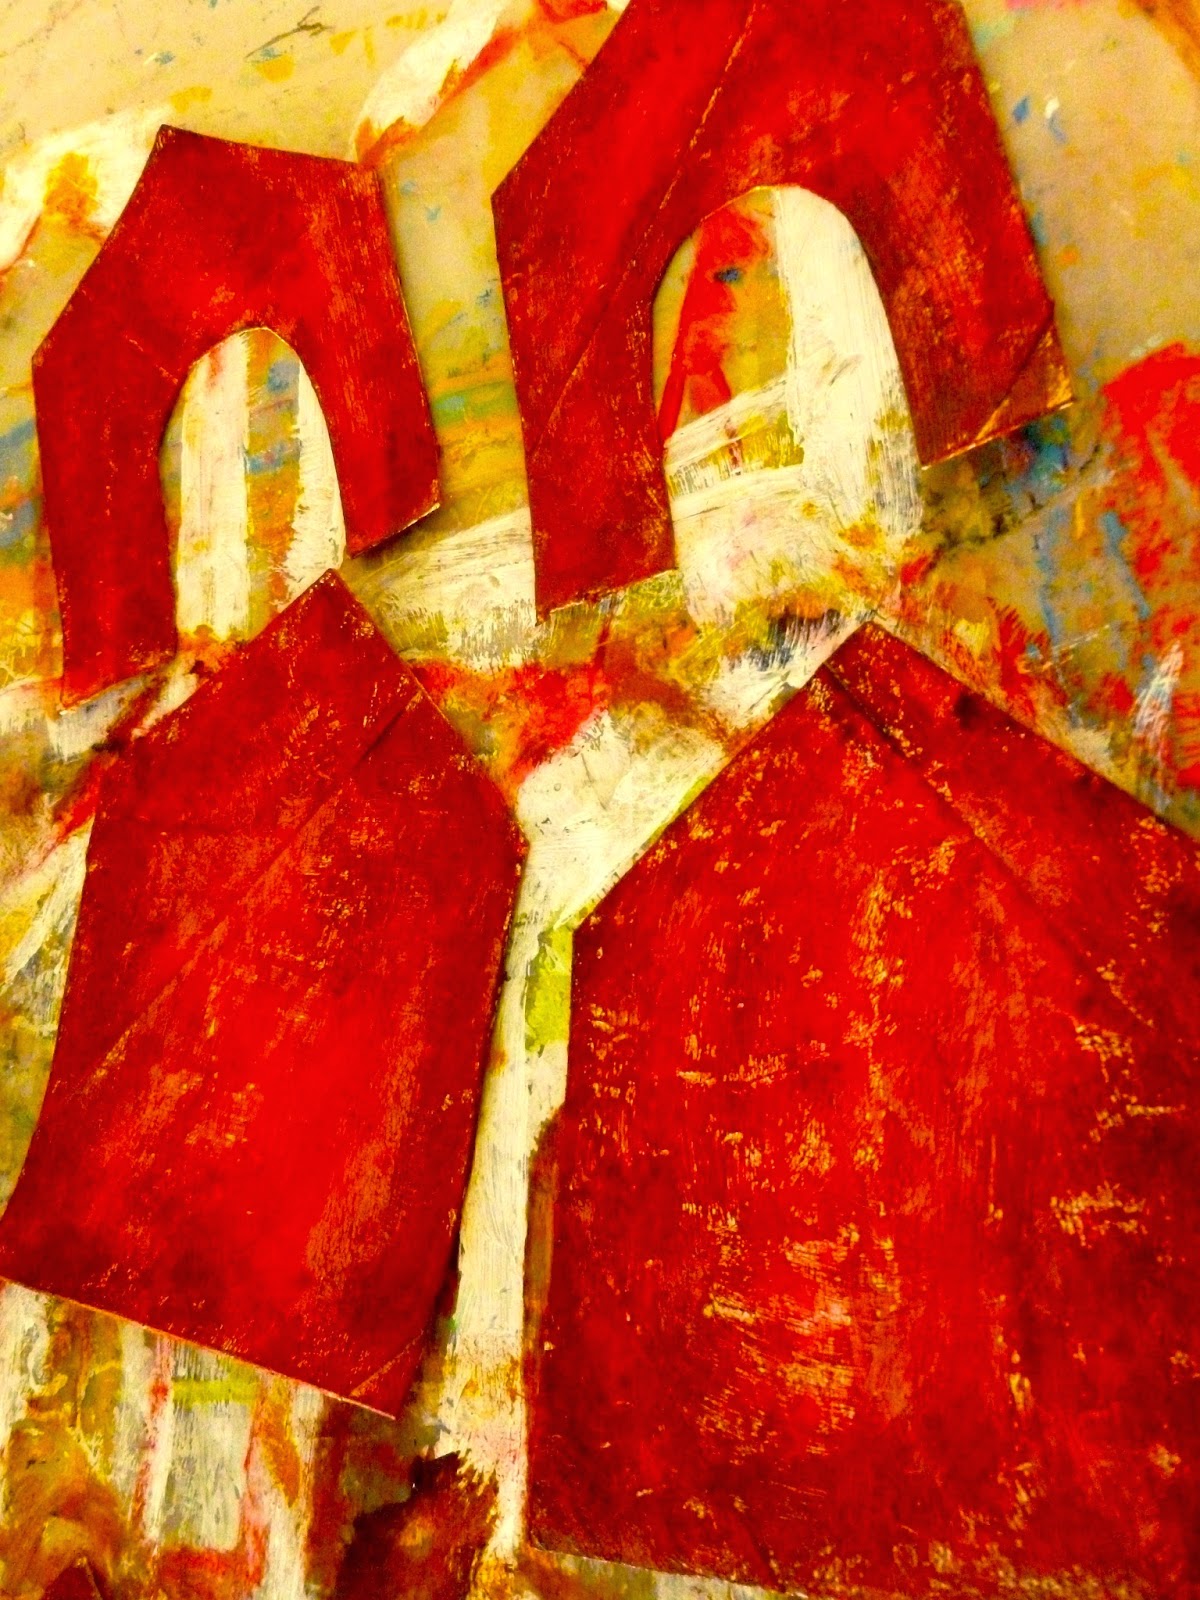
I decided since I was making houses, why not use the same idea
again but this time you will need two house shapes for each ornament, 
I choose the best sides of each to face outwards, then glue them 
with gel medium or you can use glue of course!


Then I cut the opening, the size depends on the image you will
put inside and how much you want to see of it...
the remains will be used for some cute tags in my presents!


Then add a coat of guesso...


And paint them in your favorite Christmas colors! 


One is gonna be the front and the other the back, then sandwich
the image between them and glue everything, I used heavy gel
medium for it had to be a stronger glue!


The let them dry under a heavy object, I used some glass so they
dry flat...


When they dry is time to embellish!  I used medium as my glue, 
then attached a ribbon, then some stars, glitter and words...
the medium or white glue will dry clear!


In the top you can add a bigger star or other adornment, I love gold
so I mixed up two kinds of stars!


To end, use some heavy gel medium for the string to hang it, 
it will take a while to dry so let them sit facing down in a way 
that you don´t ruin the front and that´s it, you can make as 
many as your inner artists desires!  Invite friends to do this 
with you in a party were you can exchange them and enjoy 
the fun of making these together! ;)


The table will be a mess for sure but there will be hours of fun! 


I hope you enjoyed the process and that your hands and heart are happy
creators of fabulous ornaments this Christmas! 
I love you!