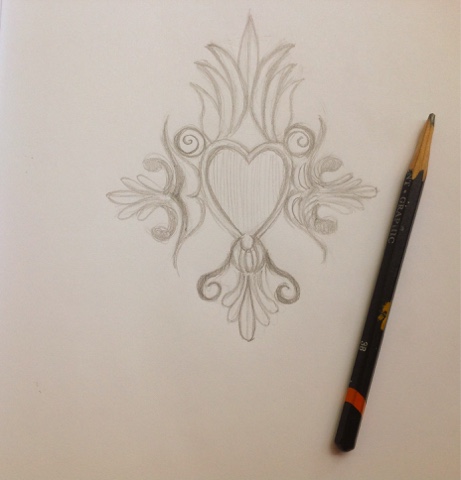
There is no better teacher than experience,
that is why I believe it's important to experiment,
in any area of life, experimenting will teach you for sure.
The inner student is always hungry for knowledge and lessons
are always there to be acknowledged, stay open for lessons,
that is what makes our lives richer and our understanding
of life and the meaning, even more profound.
This requires that you want to, nothing will be pushed
forcefully in to you and growing is not easy.
It means that you will be vulnerable and that you may fail,
many times, sometimes in a big ways but like in science,
if you not fail, you can never learn what is right, specially for your self,
many times, sometimes in a big ways but like in science,
if you not fail, you can never learn what is right, specially for your self,
you are unique and your answers will be very different from others,
but that is OK, you are in your own path,
but that is OK, you are in your own path,
let us respect that and be patient with our selves as we grow, this is Love.
Fortunately, life doesn't have to be hard or boring all the time,
we can have our delights and be content while we are discovering who we
are and who we want to become, this changes and evolves and that always
amazes me deeply, we adapt and manage, we re write and re paint,
we accept and let go, we re new and continue, we survive and grow stronger.

Here are the materials I used:
Watercolors
Watercolor paper cut in the size you want for your paper dolls
B2 pencil
Kneaded eraser if needed
Soft brushes
Fabric, I used linen
Sewing machine
Thread in darker color
Cutting tool
Heavy gel medium

Draw and paint softly your dolls, I go for layers
allowing each to fully dry, I used ochre for mine.


I used a fine cutter to remove the white part I don´t want.


Add more details with a fine pen, I used dark brown and then
painted over with more color until happy.

Make some halos and sew around them, paste them on the back
using some medium, sew some fabric around the the body,
I used a square shape.
In the Chinese culture, the circle means heaven and
the square the earth.
Simple shapes can be powerful and with meaning!

This is the back, I covered the sewing and adding this
can be used to write a quote or signing your work!

Trust


The ability to feel deep inside that everything is good and
that this good will be in our lives. Understanding that everything
happens for a good reason, we might not see it at the moment but
time will give us perspective to see clearer.
*
Peace


Open


*
Peace


The opposite of stepping in everyone so you get what you want,
peace means allowing and respect, slowing down and listening
what life is telling you, truly listening.
Peace is to live the days gracefully, in content with what you are doing,
knowing that you are in the right path.
Peace is going to bed at night with the knowledge that tomorrow
is a new day and that you will be having many more opportunities.
Open


Open, allowing, receiving, trusting, learning,
this word is many things, we have to dig deeper into words
to be able to understand more of them.
How are you open?
How are you allowing?
How are you trusting?
Only you can do this for your self.
*
Love


The true force of it all,
The strength that resists and also lets go,
the energy that sustains everything,
us, life, the universe,
us, life, the universe,
allows and reveals, teaches and embraces,
brings peace and fulfillment,
the base and the sustain,
the self.

Life


Our journey, what we are, what we experiment with,
what we are allowing, were we are expanding, what we
are giving shape.
Here


In the here and now is were we live,
how is it you want it?
peaceful, loving, harmonious, trusting?
The power of intentions will be so as much as we understand the
meaning of the words, you can write in your journal the words you
want and write more about the meaning of each, research and
understand so when you see your doll, it will tell you much more,
it will be the conversation you and her will have!
Hang them on a
place were you can have this conversation with them and keep
writing in your journal this conversation, it will grow richer in time.
Thank you for being here, blessings!