There is a profound, almost magical joy in crafting something entirely with your own hands. We are, at our core, creators—we spring from creation itself, and in the act of 'making,' we realign with our truest purpose. Knowing how to translate raw materials into beauty fills the spirit with happiness!
I am devoted to this philosophy, and I hope you are too. Today, we turn the mundane into the magnificent: I've been faithfully saving my humble toilet rolls, and now I bring you an enchanting new life for them—a beautifully bound, hand-crafted watercolor journal!
Preparing the Soul-Paper
Before the alchemy can begin, we prepare our pages. Having previously learned the art of flattening our rolls here, we now turn our attention to the paper.
I've cut my beloved cold-pressed watercolor paper. Mine comes from a talented Mexican crafter, but please choose your favorite brand! I highly recommend opting for a heavy weight, perhaps 140 lb or higher. The beautiful advantage of this kind of hidden-spine journal is that the paper, once fully glued, is highly resistant to buckling or wrinkling when wet media (like watercolors) is applied.
A gentle recommendation: If this is your first bookbinding adventure, use an inexpensive paper initially. This process is delicate and can be slightly messy, and we want to keep our final pages pristine!
The Secret of the Fold
To cut your paper without sacrificing the integrity of the journal, you must know the paper's secret: its grain.
Every sheet has a side that yields more easily, which is the direction the paper naturally folds without resistance. You must cut your pages along this direction and perform all subsequent folds in this same flow. If you fold against the grain, your beautiful pages will fracture and break with repeated use.
Weaving Paper to Core
Next, the magic touch: I use a generous amount of heavy gel medium to adhere the paper to the roll. Do not be shy! I cover the surface perfectly, as even a missed spot will become a frustrating bubble trapped beneath your page.
Measure the paper to cover the surface of two toilet roll widths side-by-side, then fold it sharply down the middle. This folded sheet is then pasted perfectly over the roll.
I press it down with deliberate force and use a brayer to ensure every molecule of paper is sealed tight. The beauty of the medium is that it grants you a precious moment to remove and adjust the paper if a wrinkle appears!
A Vital Insight: The inside surface of the paper—the part that will form your painting page—must remain utterly untouched by glue!
Now, flip the roll. Paste a second folded sheet of paper onto the top of the roll that is facing up, and just like that, you have completed a beautiful, two-page section!
Building the Book Body
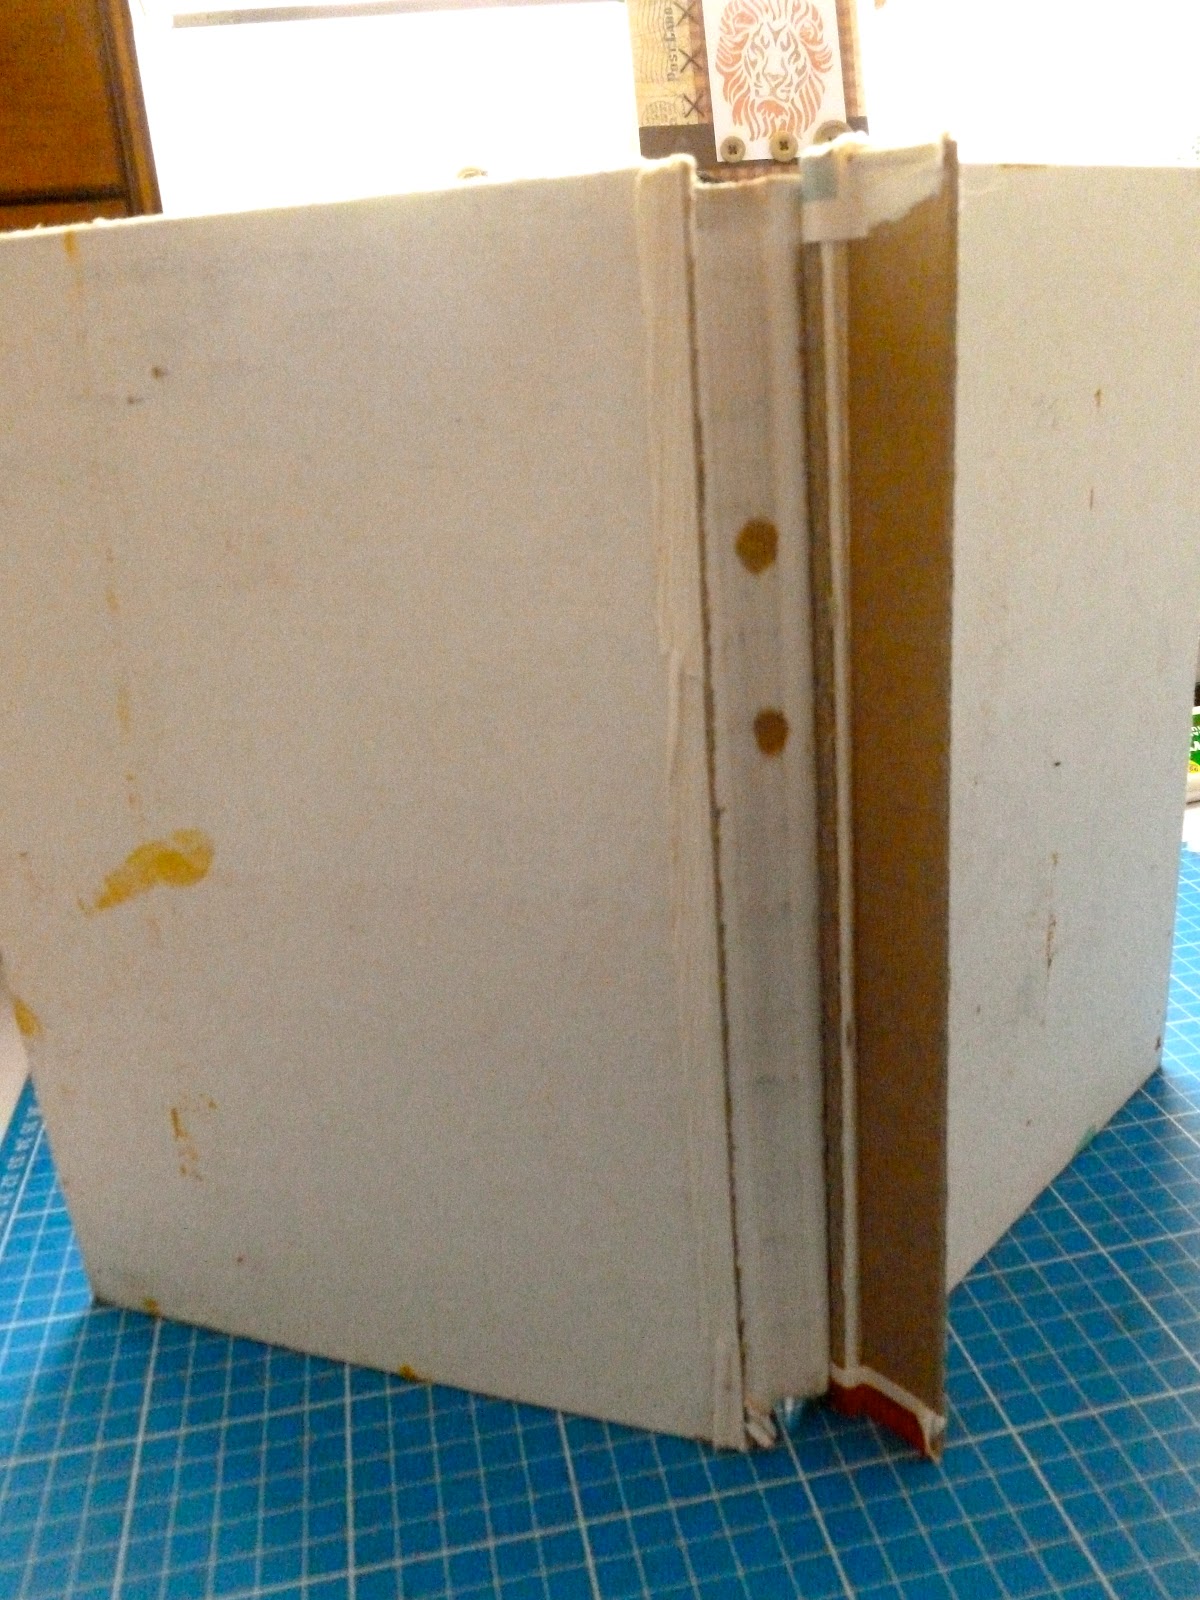
Here is the secret spine of your book: we see the back of the pages we just created. This is where the next section—a new flattened toilet roll—will be glued, one roll connecting to each open page.
[Image showing the back of the finished two-page segment, with the empty space where the next toilet paper roll spine will be glued]
Now, simply continue this rhythmic process. The trick is to keep the existing pages closed and flat when you are pasting the next roll onto the spine edge. That way, you maintain perfect alignment. So far, we have our gorgeous pages ready, and the best part? No stitching required!
Forging the Cover (The Book's Armor)
Now for the cover, the durable armor for your creation!
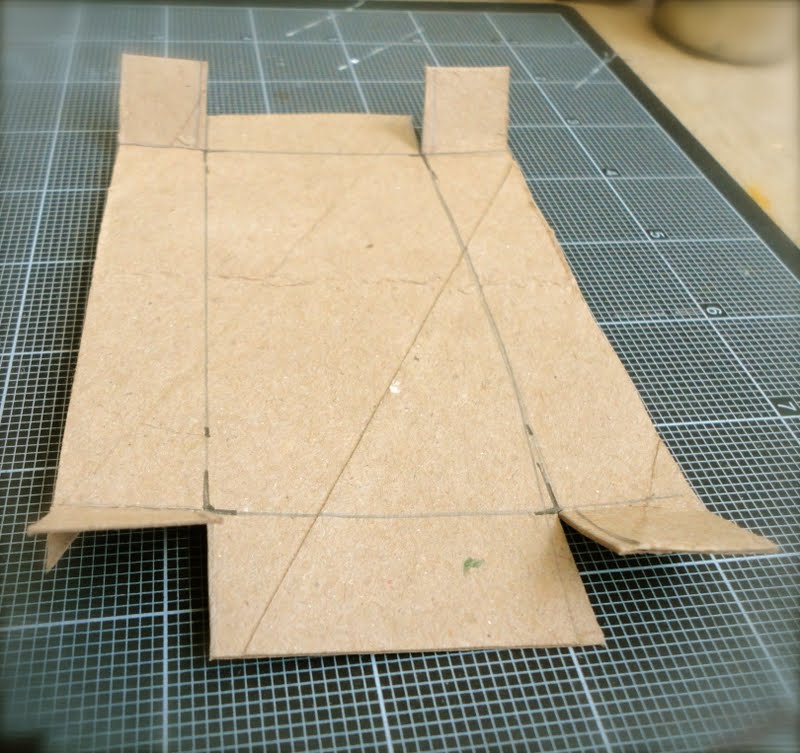
I used hard cardstock for this. Measure the existing pages and add a quarter of an inch to each side. This slight excess is customizable to your taste, but it wonderfully protects the delicate corners of the paper within. You also need the exact measurement of the spine's width.
Cut your material a little larger than needed—it is always better to trim excess than to be left wanting more!
To allow the book to fold and open with grace, leave a small, vital space (a couple of millimeters) between the spine piece and the front and back cover pieces. This gap is the hinge that grants your book life.
Once you have roughly seven page sections completed, align them meticulously on the spine, then generously apply your medium to attach them to the cover material. I use simple clothespins to hold everything taut while it cures.
A Poetic Touch: In this step, you can anchor a beautiful ribbon to serve as a bookmark. Just secure it in the exact center of the spine with a touch of medium, allowing the rest of the ribbon to drape inward.
The Final Fold
Now, cut the corners of the excess cover paper at a 45-degree angle to make the folding easier. Then, begin folding and gluing the edges inward with your medium. Use the pins again to hold the edges tight while they dry.
Carefully fold the corners themselves and use a tool (a bone folder or the back of a spoon) to push the paper deep into the folding crease. This is a delicate step; be patient and gentle!
Finally, you will paste the first and last blank pages of your watercolor paper directly to the inside covers. This is the final bond that holds the book together! Because this can be messy, I always use a plastic bag or a piece of parchment paper to shield the delicate interior pages from stray medium while I work.
You have finished your book! Can you imagine the countless hours of fun and the unique, heartfelt gifts you can now create?
The Resting Period
The final stage is crucial: The Rest.
At the end of your creation, let the book rest for at least 24 hours or more under a substantial weight (a stack of encyclopedias or heavy coffee table books works perfectly). This compression ensures every seam is flat and secure. Afterward, allow the pages to breathe by opening it and letting the individual sheets fully dry.
A Note from My Own Crafting: I used the same watercolor paper for my first cover, and I advise against it! It's better to use a much harder material, like scrapbooking paper or even a rich piece of fabric, following the same instructions. My edges are breaking, proving that the book's armor needs to be robust!
I truly love this unique method, and I hope you feel the call to try it and keep cultivating your boundless skills and creativity! Let me know what beautiful worlds you create within these pages!
P.S: I used Gemini to update this article for you, the original photos were lost and it needed an upgrade, I am grateful this could be saved and improved thanks to the new available technology! Please enjoy! ✨